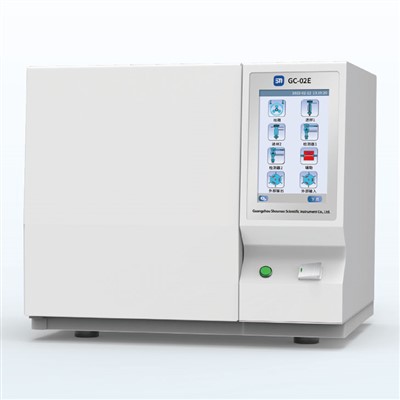
Ok, so you're in the gas chromatography (GC) game, and you've got this fresh new column ready to roll. But hang on, just slapping it in your GC-05E Gas Chromatograph or GC-02E Gas Chromatograph isn't gonna cut it. Conditioning that column is like breaking in a new pair of shoes; you gotta do it right. As a Gas Chromatography supplier, I've seen it all, and I'm here to walk you through the process step by step.
Why Condition Your GC Column?
First things first, let's talk about why we're even bothering with this whole conditioning business. A brand - new GC column comes with a bunch of contaminants. There could be manufacturing residues, like monomers or solvents that were used during the production process. If you don't get rid of these nasty little guys, they can mess up your chromatography results. You might end up with extra peaks on your chromatogram, which can throw off your analysis and make it hard to accurately identify and quantify your compounds.
Conditioning also helps to stabilize the stationary phase in the column. The stationary phase is what allows your different compounds to separate based on their affinities. Heating the column during conditioning helps the stationary phase to settle into a more uniform and stable state, which means better separation and more consistent results over time.
Pre - Conditioning Checks
Before you start firing up the oven, there are a few checks you need to do. First, take a good look at the column. Make sure there are no visible signs of damage, like kinks or breaks. If the column is damaged, it's not going to work properly no matter how well you condition it. You'll just end up wasting your time and potentially getting inaccurate results.

Next, check the column dimensions. The length, inner diameter, and film thickness all play important roles in how your column performs. Different applications require different column specifications, so make sure you've got the right one for your needs. You can usually find this information on the column packaging or in the product manual.
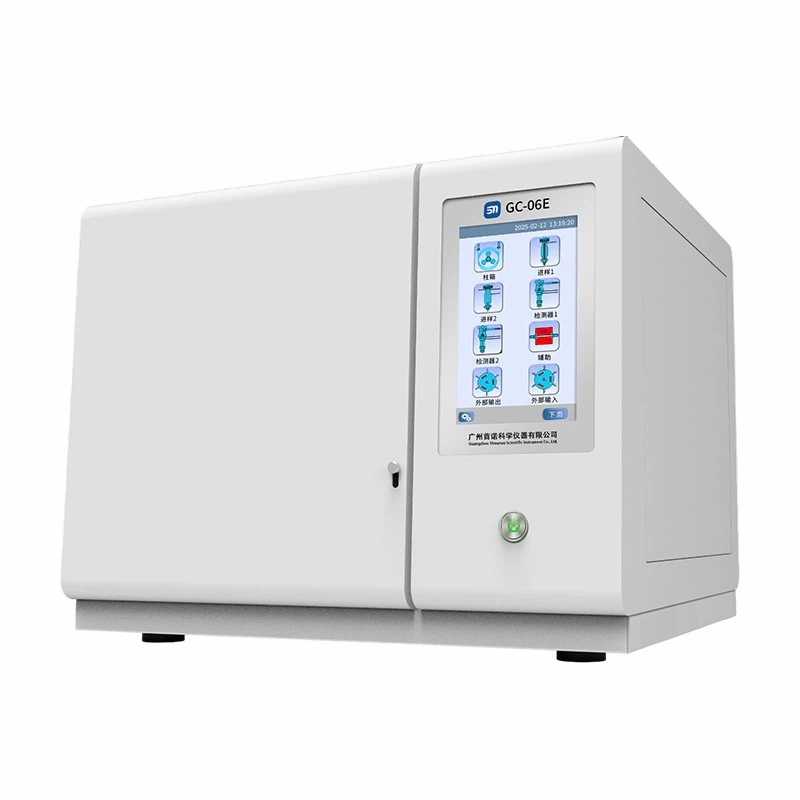
Also, check your GC Analyzer. Make sure it's in good working condition and that all the connections are tight. A leaky connection can cause problems with your gas flow, which will affect the conditioning process and your subsequent analyses.
Choosing the Right Conditions
Now, let's talk about the actual conditioning process. The first thing you need to figure out is the right temperature and time for your column. This depends on the type of column you have. Different stationary phases have different maximum operating temperatures, and you don't want to go above that. If you do, you can damage the stationary phase and shorten the column's lifespan.
For a general rule of thumb, a common starting point is to set the oven temperature about 20 - 30°C below the maximum operating temperature of the column. You'll then want to hold this temperature for a few hours. For example, if your column has a maximum operating temperature of 325°C, you might set the oven to 295 - 305°C and hold it there for 2 - 3 hours.
But here's the thing: this is just a starting point. Some columns might need more intense conditioning, especially if they're designed for more challenging applications. You might need to do a multi - step conditioning process, where you gradually increase the temperature over time.
Connecting the Column
Once you've got your conditions figured out, it's time to connect the column to your GC. Make sure you follow the proper procedures for your specific instrument. Usually, you'll need to connect the column to the injector and the detector. Use the appropriate ferrules and fittings to ensure a tight and leak - free connection.
When you're connecting the column to the injector, pay attention to the insertion depth. Inserting the column too far or not far enough can affect the sample introduction and the overall performance of the column. You can usually find the recommended insertion depth in the column or instrument manual.
The Conditioning Process
Ok, so you've got your column connected, and your oven is set to the right temperature. Now, it's time to start the conditioning process. Turn on the carrier gas and let it flow through the column at the recommended flow rate. This helps to carry away any contaminants that are being released from the column as it heats up.
As the column heats up, keep an eye on the detector signal. At first, you might see a lot of noise as the contaminants are being removed. This is normal. But as the conditioning progresses, the signal should start to stabilize. If you notice that the baseline is still fluctuating wildly after a few hours, there might be a problem. It could be a sign that there's a leak in the system or that the column has some serious issues.
Post - Conditioning Checks
Once the conditioning is done, let the column cool down to room temperature. Then, go ahead and do some test runs. Inject a standard sample into the GC and see how it performs. Look at the chromatogram for any signs of problems, like broad peaks, tailing, or extra peaks. If everything looks good, then your column is ready to go for your real - world analyses.
But if you do notice some issues, don't panic. You might need to do some additional conditioning or troubleshoot the system. It could be that there was still some contamination left in the column, or that there's a problem with the injector or detector.
Tips and Tricks
Here are a few extra tips to make your column conditioning experience easier and more effective. First, make sure you're using high - quality carrier gas. Contaminants in the carrier gas can quickly undo all your hard work in conditioning the column.
Second, keep a record of your conditioning process. Note down the temperature, time, flow rate, and any observations you made during the process. This can be really helpful if you run into problems later on or if you need to replicate the process for another column.
Finally, don't be afraid to ask for help. If you're not sure about something, reach out to us, your Gas Chromatography supplier. We've got a team of experts who are happy to answer your questions and give you advice.
Conclusion
Conditioning a gas chromatography column is an important step that shouldn't be skipped. It can make a huge difference in the performance and lifespan of your column, as well as the accuracy of your results. By following the steps outlined in this blog post and using the right equipment, like our GC-05E Gas Chromatograph or GC-02E Gas Chromatograph, you can ensure that your column is in top - notch condition for all your analytical needs.
If you're looking to purchase a new GC column or any other gas chromatography equipment, we're here to help. We offer a wide range of high - quality products, including our GC Analyzer. Contact us to start the procurement discussion and find the best solutions for your laboratory.
References
- McNair, H.M., & Miller, J.M. (1997). Basic Gas Chromatography. Wiley - Interscience.
- Grob, R.L., & Barry, E.F. (Eds.). (2004). Modern Practice of Gas Chromatography. Wiley - Interscience.